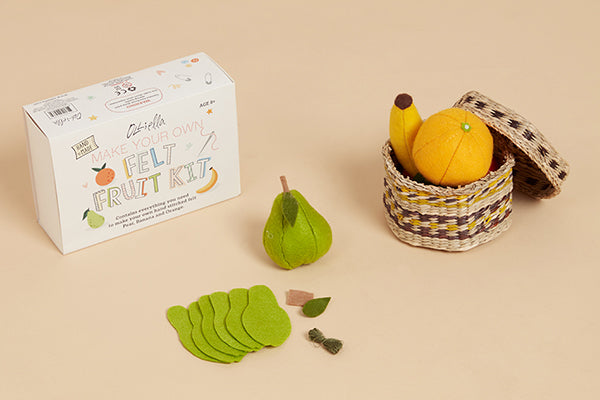
Make your own {felt!} fruit salad
Celebrate homemade delights with the Felt Fruit Kit. Curate a crafty moment with our easy step-by-step guide to make your own hand stitched Pear, Banana and Orange. No fuss set up so you can bask in the calm that comes from making something with your little ones. Plus! All the tools like soft felt, cotton thread and a sewing needle ready to go in our Felt Fruit Kit.
You will need:

HOW TO MAKE YOUR PEAR

Step 2.
There are 6 sides for the pear, sew them together leaving a 4cm opening on one side


HOW TO MAKE YOUR ORANGE

Step 1.
Prepare all the material: 6 orange sides, green and white stalk pieces, body thread and decorative orange thread, stuffing
Step 2.
There are 6 sides for the orange, sew them together leaving a 4cm opening on one side

Step 3.
After sewing the 6 sides there will a little hole on the top and bottom. Sew up the holes

Step 4.
Turn inside out to be finished side facing out. Then pack tightly with the stuffing

Step 5.
Sew up the opening

Step 6.
Sew decorative thread on the orange running from the top down to the middle of the segments

Step 7.
Sew or glue the white dot on the green base. Sew or glue the green base on the top the orange

THE ORANGE IS DONE!

HOW TO MAKE YOUR BANANA

Step 1.
Prepare all the material: Banana body pieces: 2 sides and 1 front (smaller) and back (larger) piece, brown and yellow stalk pieces, stuffing
Step 2.
Sew first side (longest edge) and back piece together along one side

Step 3.
Sew second side (longest edge) and back piece together along the other side

Step 4.
Sew the front piece of banana on first side (shorter edge)

Step 5.
Sew the front piece of banana on the second side (shorter edge) leaving a 4cm opening

Step 6.
Turn the stitched banana body inside out to be finished side facing out. Pack tightly with the stuffing

Step 7.
Sew up the opening

Step 8.
Sew or glue the yellow stalk piece on the brown stalk piece.
Sew or glue the stalk piece to the base of the banana

THE BANANA IS DONE!

PICK N’ MIX YOUR FRUIT AND VEGGIE KIT
 Welcome to Olli Ella!


