 Welcome to Olli Ella!


Raise Some Fun: DIY Forest Friends Pennant Flag
Repurpose your Forest Friends cardboard display stand into DIY pennant flags for the playroom! We teamed up with our endlessly creative pal @cardboardfolk to craft personalised bunting featuring the Dinky Dinkum Forest Friends camp badges. Don’t have the box set? Download the printable template for your kids to colour and use for this craft. Take a walk on the wild side to the magical world of Dinky Dinkums Forest Friends and embark on a crafty adventure with your kiddos.


-

Step 01 Prepare The Badges
Grab your Dinky Forest Friends cardboard display stand (or download the printable version) and use scissors to cut around the badge icons and any other illustrations you like. You can also use the stickers on your Dinky's swing tag. If using the printable badges, reinforce the printer paper by sticking the shapes to cardboard.
-

Step 02 Turn Your Badges Into Stickers
Attach the scratchy side of the velcro to the back of your badges. Use glue if your velcro isn't self-adhesive.
-

Step 03 Shape Your Flag
Take a piece of felt (we used an A4-sized sheet) and trim the bottom into a point using scissors.
-

Step 04 Attach The Dowel
Place the craft dowel at the top straight edge of the flag. Run a bead of fabric glue all the way across the top of the felt. Fold the top of the felt over the dowel to cover it and hold in place until the glue starts to set. You may want to use pins or masking tape to keep it in place while the glue dries.
-

Step 05 Attach The String
Cut a piece of string about 60cm long and tie the ends to each side of the craft dowel to create a hanger.
-

Step 06 Personalise Your Flag
Grab a piece of contrasting coloured felt and cut out letters to personalise the flag with your child's name. We printed our letters in a blocky font and used them as a template to trace onto the felt, but you can also draw by hand before cutting. Use fabric glue to attach them to the banner.
-

Step 07 Attach Badges To The Flag
Lastly, attach your Dinky badges to the flag by pressing the velcro-backed badge firmly to the felt fabric. You can move and swap your badges as often as you'd like!


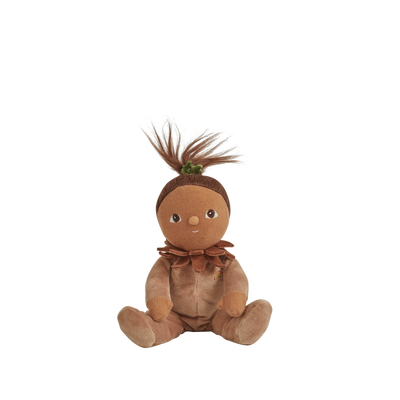
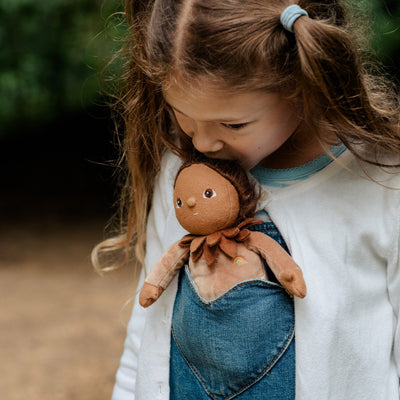
Dinky Dinkums Forest Friends Allie Acorn


Dinky Dinkums Forest Friends Bobby Bear


Dinky Dinkums Forest Friends Fifi Fox


